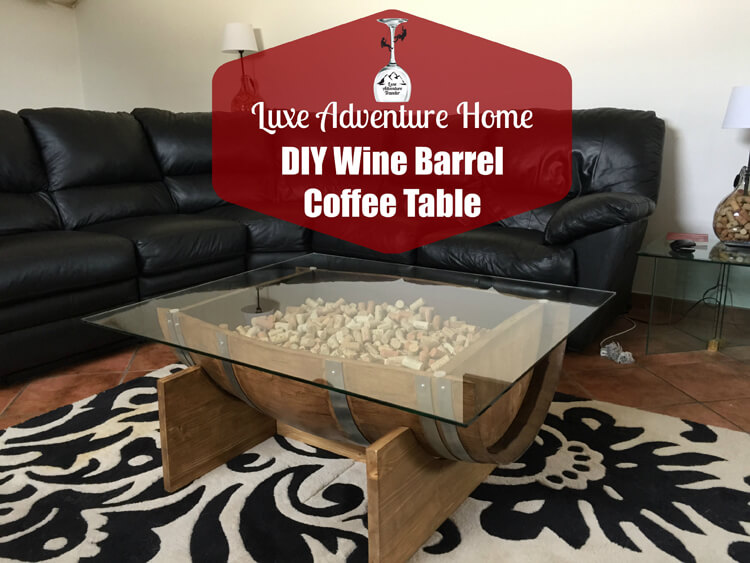
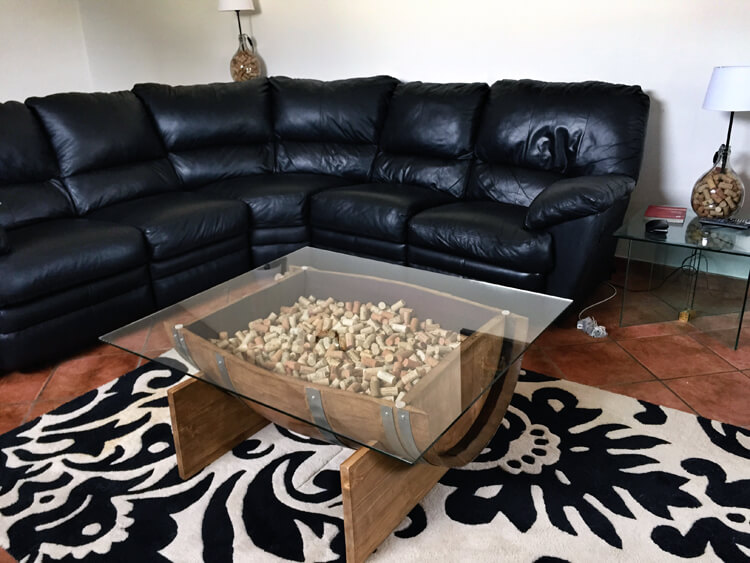
Tim gave me perhaps the coolest birthday gift he’s ever given me this year. Technically I asked for a wine barrel coffee table I had seen online for Christmas. Instead of ordering me one and risking a scene like in Friends when Rachel and Ross buy the exact same apothecary table mass manufactured by those “bastards” at Pottery Barn (I actually love Pottery Barn), he decided to build me one.
I think he had actually found the barrel by Christmas and then after some nagging…and more nagging…he finally buckled down and built me my wine barrel coffee table in a couple of weekend. There may have been a few near heart attacks after he’d text me that he cut his finger off and I’d go racing out to our garage turned wood workshop. He didn’t; he just wanted me to bring him a beer. But it was worth the bad jokes when my table finally was done.
We chronicled it on our Facebook Page and one of our local readers even bought the other half of the barrel after Tim cut it. Since you were all so interested, he put together this tutorial on how to build a wine barrel coffee table for around $200.
 What You’ll Need
- Wine barrel
- Jig saw
- Dremel
- Sand paper
- Electric sander
- Sanding sponge
- Sheet metal screws
- Drill
- Tie-down strap
- Wood stain
- Wood glue
- Shop vacuum
- Glass table top
- Rubber spacers
- Corks
DIY Wine Barrel Table
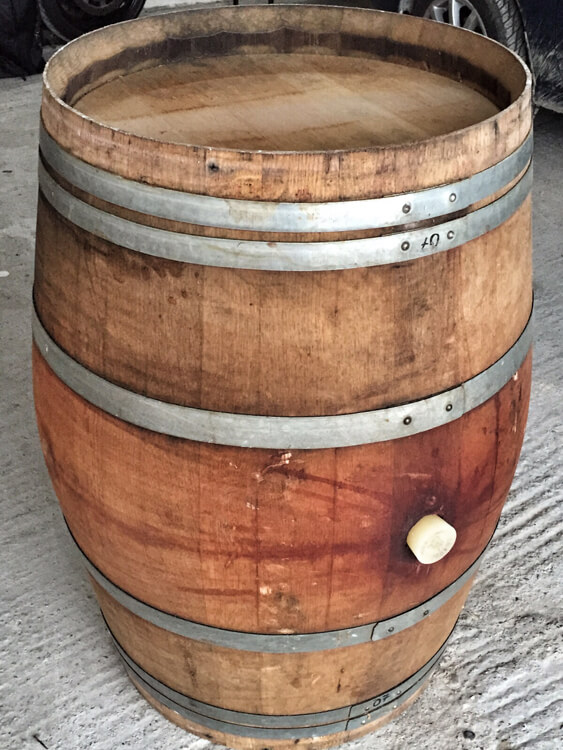
1. Visit your local wineries to find a used barrel to purchase. In Italy a wine barrel can be purchased from €30 – €100 depending on the condition its in. Of course, the better condition the barrel is in, the less prep work you’ll need to do. I found a local winery that was selling their old barrels for €30, so it needed a lot of TLC.
If you don’t have a local winery nearby that sells used barrels, you can also find them online like this solid oak one from Napa Valley on Amazon.
2. Wash the barrel thoroughly with a hose and mild soapy water. Be sure that the cork is in the barrel as you don’t want water to get inside it. A pressure washer can work well too. Allow the barrel to completely dry for 1-2 days after washing.
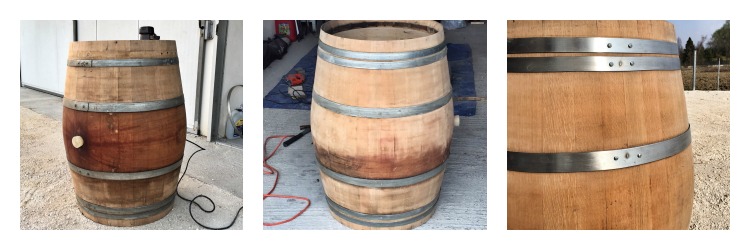
3. Depending on the look you are going for, you could lacquer the barrel for a rougher vintage look. Or sand and stain it for a more refined and clean look. We sanded and stained our barrel.
Start with a low 60-80 grit sand paper and move up to a 200 grit or higher sand paper depending on how much effort you want to put into sanding it. Make sure to have some type of padding or cardboard underneath as any rough surface will damage the surface of the barrel and cause more work for you. A shop vacuum comes in handy to clean up as you go, as well as to be used as a blower to dust off the barrel between sanding.
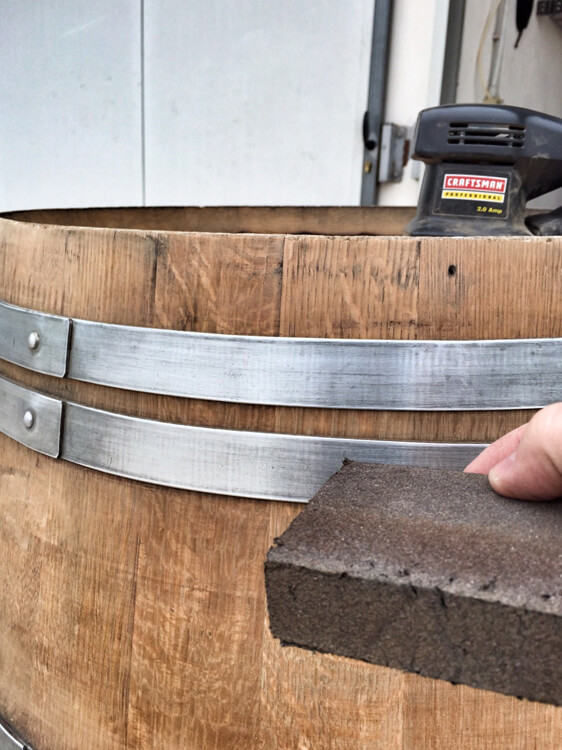
If you want to clean the rings up a bit, I found the 3M sanding sponge worked great and left the rings with a nice clean finish.
4. Once you’re satisfied with the prep of your barrel, you’ll need to screw in the rings around the barrel. This is a crucial step as once you cut the barrel in half, there is nothing to hold it together. Self tapping sheet metal screws work great.
You’ll need to drill a starter hole through the ring making sure the holes are no larger than the diameter of the screw. Try not to drill into the wood as you need screw to have something to bite into.
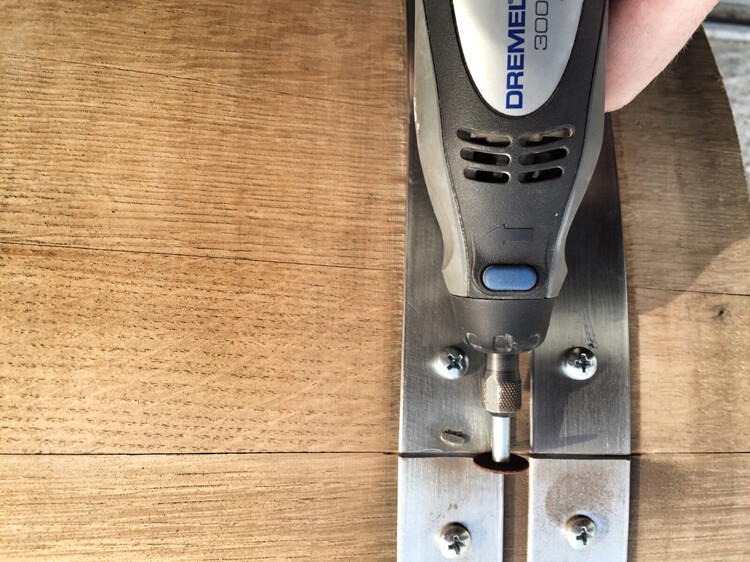
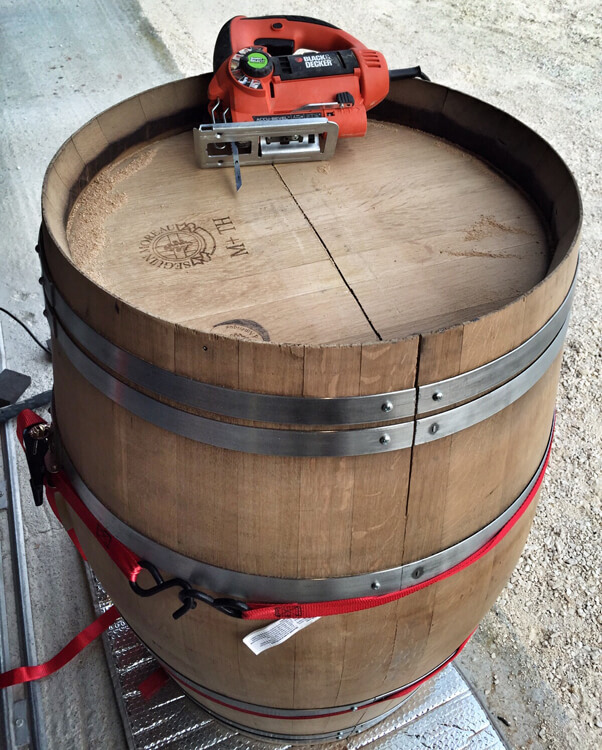
5. Now comes the fun part: cutting the barrel in half. I found a Dremel with cutoff wheel worked great to cut the rings. Then I used a jig saw to cut the rest of the way along the slats.
Use a tie-down strap to hold the barrel together once you have the first side cut. Only minimal sanding should be needed along the slats once the barrel is cut.
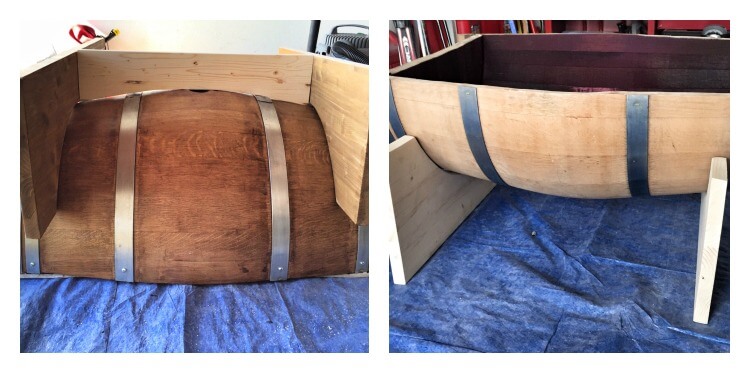
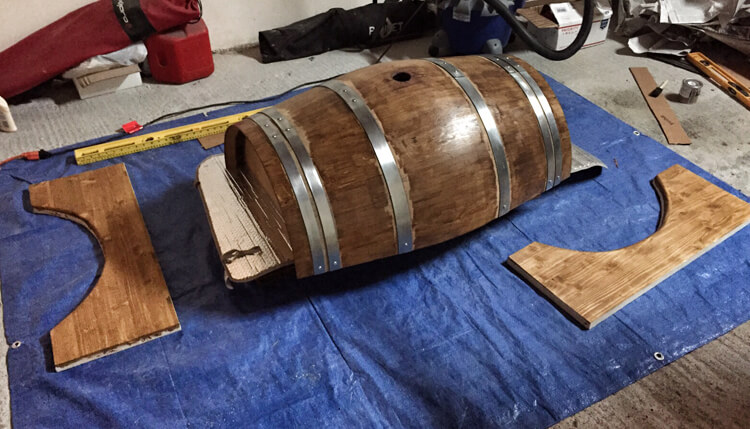
6. Once the barrel is cut in half, it’s time to make the stand. Purchase wood of your choosing from a lumber yard or store like Home Depot and cut it to the shape of the barrel. I found that taking a big piece of cardboard and slowly trimming it to the shape of the barrel worked great as a template.
Trace your cutout onto the board and use a skill saw to shape it. Attempt to cut it at a slight angle to account for the curvature of the barrel. Make a brace to connect the two ends of the stand under the barrel using the same cardboard template method.
Once it is cut to shape and fits the barrel nicely, sand it progressively just as you did the barrel. Use wood glue and dowels to attach the stand together. This makes for a much nicer presentation than using unsightly screws.
7. We wanted a finished look so chose a medium-colored stain called Noce Rustico Brillante. I chose to stain it after I cut it in half as I could make each barrel a separate color and pick which one we liked best. One trick to staining which I sadly didn’t know ahead of time is to take a clean rag and wipe the excess stain off as you go. This allows for a much cleaner look than just a brush alone.
8. Get a piece a glass from a local window or hardware store. A glass table top will cost about $80-$130 depending on the thickness and whether it is tempered glass or not. Tempered glass will break in much larger shards and is safer (if you have kids at home, tempered glass is the only choice).
Attach the rubber spacers as feet for the stand, as well as for the glass table top to rest on.
9. You’re not done just yet! What’s a barrel without a few corks to fill it up? Time to drink up and start saving those corks because it will take about 1500-2000 to fill it up nicely. Save a few of your favorite bottles from special occasions and nestle them in the corks to display.
If you’re not quite up for drinking 2000 bottles of wine, don’t fret. You can also order bulk wine corks online.
It’s quite a bit of work to craft your own wine barrel coffee table, but when all is said and done you’ll have a beautiful hand-crafted wine barrel table for around $200. Alternatively you could order this one for $800.
Shop This Post
This article contains affiliate links. When you shop on Amazon through our affiliate site, we earn a small commission at no additional cost to you.

Wendy Cartright says
This is such a beautiful concept. I absolutely love wine barrel furniture. It looks like it took a lot of skill to make your coffee table. Great job, and thanks for sharing!
Scott says
Great job, how did you keep the barrel from coming apart when after cutting and taking the straps off?
Jennifer Dombrowski says
We put a decorative screw at each slat as explained in step 4. Without doing that, there isn’t anything to hold the barrel together.
Jean Blondin says
Hi, really good post, most valuable info. I followed the steps up to the stand where I decided to create table legs from the remaining staves. Also turned out beautiful. Happy to share a picture or two. Thanks for tge guidance!
Jennifer Dombrowski says
Glad to hear you were able to make your own beautiful barrel coffee table, Jean! Feel free to share some photos with us by posting them on our Facebook Page: http://facebook.com/luxeadventuretraveler/
Jared says
It’s really amazing. There is an organisation CORKCLUB, They collect wine cork and their aim is to increase the wine cork recycling by collecting the corks and donating money to help preserve the Earth. It’s really nice concept.
Tom Aguilar says
Thank you for an amazing video
You make it sound so easy.
I will be attempting to cut one tomorrow.
Wish me luck
Donnie says
Great job, This is such a beautiful concept. I think its very creatively design, I love that wine barrel furniture. Thanks!
Daniel says
What size are the self tapping sheet metal screws that you used? I plan on making a dog house out of my wine barrel just not sure of the size screw to use….
John says
I have made several coffee tables from old whiskey barrels. As the slats dried, gaps developed between them, but it appears that did not happen with your barrels. How have you prevented shrinkage of the wood as it dried? Thanks.