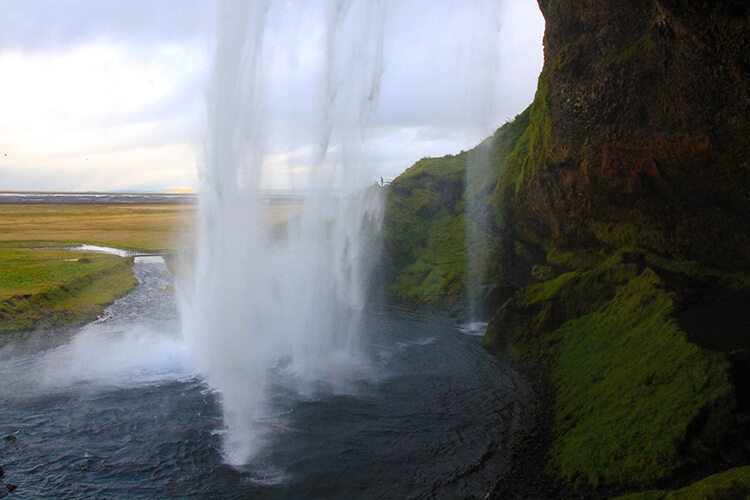
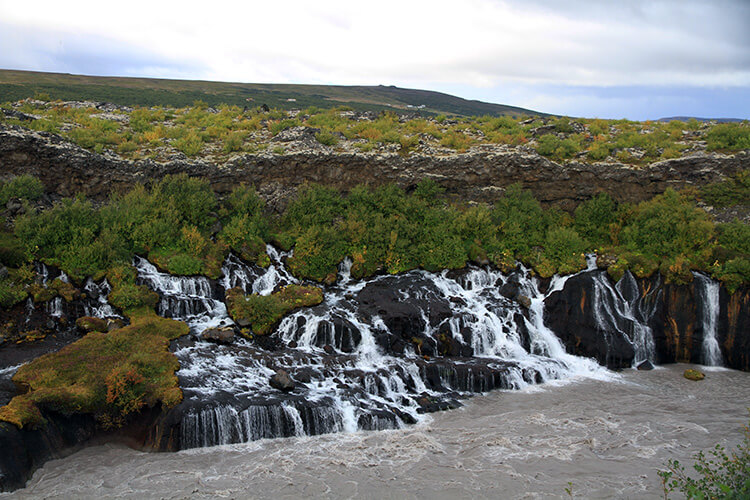
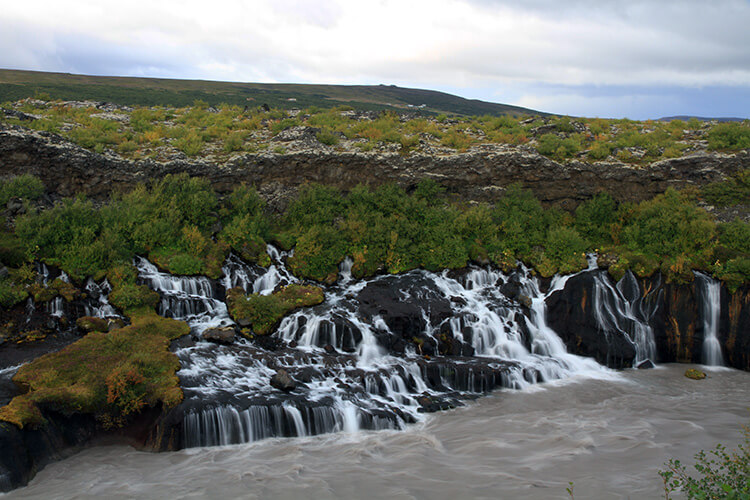
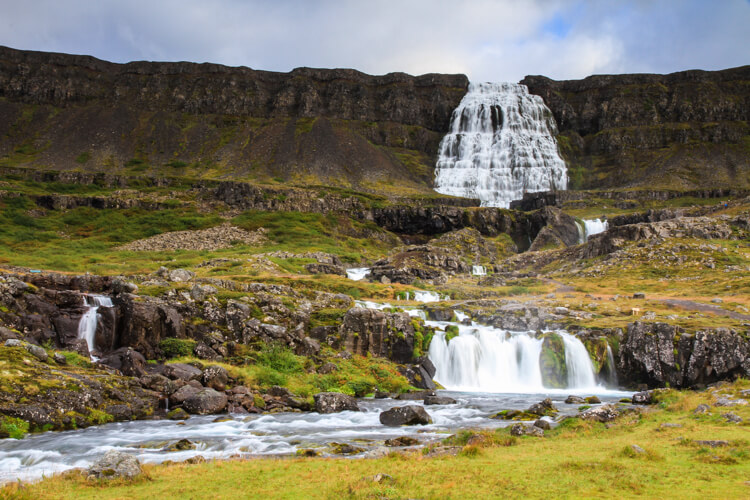
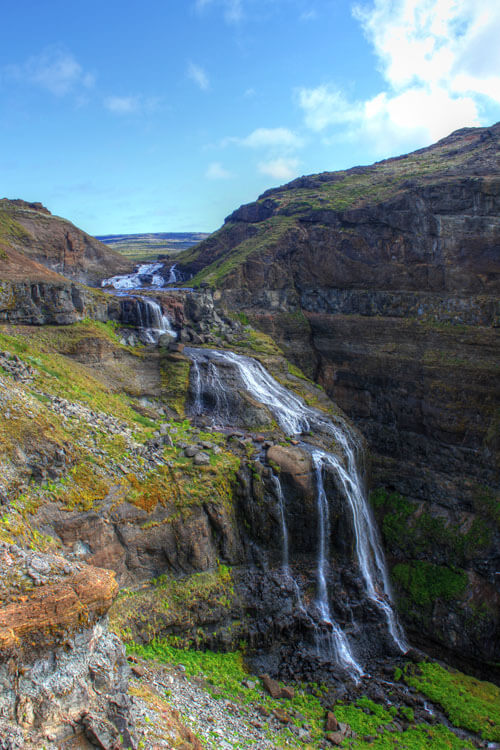
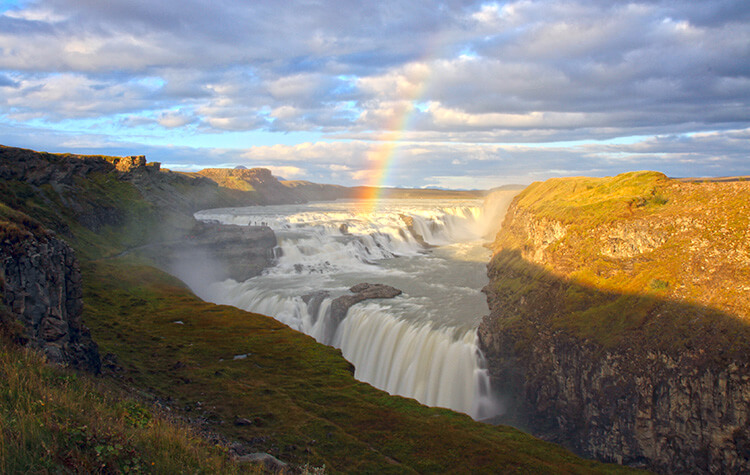
Iceland is full of drop dead gorgeous landscapes and countless take-your-breath-away waterfalls. It’s easy enough to snap a photo, but it’s the photos with the frothy water in motion that really draw you in. It’s those images with the blurred water that truly make you feel like you’re there; make you feel like you can hear the gush of the rushing water. They aren’t the easiest images to produce, but by following our tips for photographing Iceland’s waterfalls you’ll come home with images you can’t wait to Instagram.
1. Use a tripod.
You don’t need a super expensive camera; you just need one that you can manually adjust the shutter speed and aperature. Heck, you can actually even take those gorgeous photos that give the impression of moving water with an iPhone and apps like LongExpo Pro. But the one piece of camera equipment you should invest in is a sturdy tripod.
The tripod is essential to keep your camera completely still while shooting your photo. And you want to choose one that can withstand wind, will keep its balance on uneven surfaces like around waterfalls and is still light-weight and compact enough to travel with. We like and use the MeFoto Roadtrip Carbon Fiber Tripod.
2. Use a slow shutter speed.
Waterfalls are living, moving objects and that’s what makes photographing them so tricky. Fast shutters, like on a point-and-shoot or your iPhone’s regular camera freeze movement.
You want a slow shutter speed to blur the movement of the rushing water. Unfortunately, there’s no one-size-fits-all shutter speed for shooting waterfalls. Each waterfall is different depending on a variety of factors like the volume of the water to the distance from the waterfall.
The great thing about digital cameras is that you can experiment with various shutter speeds and review the results on your screen, then adjust accordingly.
3. Use a lower aperture.
Slowing the shutter speed down sounds easy enough, right? This is where a basic understanding of your camera really comes in handy. Slowing your shutter speed down means you’re letting more light in to the lens, which can overexpose your shot.
You can adjust the amount of light entering your lens by using a smaller aperture. You can even adjust the f/ number somewhat on your iPhone with the LongExpo Pro app I mentioned above. On your camera, you want a larger aperture like f/11 or even f/16 as the larger the f/ number, the smaller the opening of the lens’s diaphragm where light passes through. Don’t be afraid to use f/22 if you need to.
4. Use a low ISO.
ISO, aperture and shutter speed all work together when you’re shooting manually. Lowering the ISO reduces the noise in the shot, in other words decreases the graininess to give you sharp detail. It also makes your camera’s sensor less sensitive to light. Start out with ISO 100, the lowest that your camera will go.
5. Plan time to shoot the waterfall.
Visiting Iceland’s waterfalls on a group bus tour doesn’t allow the time you need to play around with various mixes of ISO, aperture and shutter speed. You’ll also be competing with a busload full of all your new closest friends for just the right spot or angle.
A good alternative is to take photo tours in Iceland. These private tours or small group workshops are designed for photographers looking to capture iconic Iceland landscapes and waterfalls. No matter what your level of photography, having a professional photo guide can help you up your photo taking game with new techniques and composition tips.


Tandy says
these are good tips and great photographs! I need to get my tripod out of hiding 🙂
Jennifer Dombrowski says
I really hate carrying a tripod around, but it really is a single tool that can take your photographs to the next level just because you then have more freedom with the camera.